Showing posts with label wedding. Show all posts

Sunday, May 1, 2011

DIY: Pom Poms

Lets welcome Spring with big DIY pom pom flowers!

I have seen these large pom pom's on a lot of wedding blogs, and I was really curious as how to make them.  So I decided to look it up and make some to hang in my room.  Martha Stewart's website has step by step instructions, and I will repeat them on here for anyone interested in how to make them.  They are super cute and really easy! I think they would be great for any type of event: wedding, wedding shower, baby shower, birthday party, and more.  They would also be cute as home decor, like my roommate and I did by hanging them from our ceilings in our bedrooms.  Here's how!

What you'll need:
-Your desired color of tissue paper (could also be patterned)
-Scissors
-String (I used dental floss)
-White or clear thumb tacks


Step 1
Open the pack of tissue paper and unfold them to lay flat.  Depending on how thick you want your poms to be, you can use as little as 6 sheets or as much as 20.  I would recommend about 10 to 15 sheets.


Step 2
Fold the sheets of tissue paper in 1" folds accordion style. 


Step 3
Tie the string around the middle of the folded tissue paper.  Leave enough slack to hang the desired length.


Step 4
With the scissors, cut the ends of the tissue paper to make it either rounded or pointed. You can also cut several inches off of each end if you would like to make smaller poms. I have demonstrated rounded edges below:


And pointed will be demonstrated in the next picture.

Step 5
(This is a smaller, patterned, pointed pom demonstrated below.) 
Now begin to peal back the layers of tissue paper one at a time.  You will pull from the front and back to cover the entire area.  When one side is spread out, turn it over and do the same thing on the other side.


Once all the layers are separated, go around and fluff the layers to get the desired full look. 

Step 6
Tie the end of the string around the clear or white thumb tack and hang the pom from the ceiling or beam.

The finished product.


These are both larger poms (no length was cut from the tissue paper). The pink one has rounded edges and the blue one has pointed.


Let Jitters help you out by making these for your next wedding or event!

Patterned ones can be fun as well.  I found some striped paper and in the end it looked more like a pinata.  But I figured this could be a great decoration for a fiesta!
 

Saturday, December 4, 2010

Jordan and Molly's Vintage Birdcage Rehearsal Dinner

On Friday, December 3rd Jordan and Molly Anderson were married. We helped decorate for their rehearsal dinner on Thursday at Childer's Place in Amarillo, TX. We have pictures posted on a previous blog entry from Tyler and Andreas rehearsal dinner in the courtyard. Childer's Place also has inside space available which is what we used for Jordan and Molly. The catering was done there at Childer's Place by their staff, and it was delicious! I would definitely recommend this venue for a small party or reception. Their wedding theme was vintage, and their colors were gray and creme with touches of soft pink and blue. The wedding at Paramount Baptist church turned out beautiful! Molly made a gorgeous bride, and Jordan wasn't too bad either ;) We have known Jordan all his life, and are very excited that he has found someone as special and sweet as Molly! We love them both and wish them all the best!

Here are some pictures from the rehearsal dinner that Pam decorated for which had a theme of pink/vintage/birds/tea party


Music sheets were stained with tea to give them an antique look. Molly is a singer, so we thought the music would be a personal touch


Crystal and mirrors were hung from tree branches


Apothecary jars were filled with coffee beans, bird nests, and twigs


Bird feathers add a cute touch to the end of the pink and gray table runners that were made by Pam

Bird cages were filled with vintage books, tea cups, and flower arrangements to make a cute vintage/bird themed centerpiece. Each table had the vintage music sheets and tea cups as decoration as well.


These handmade fabric flowers are an easy and cute way to add a nice touch of elegance and vintage flair. Check out the previous blog called "DIY: Fabric Flowers" for step by step instructions on how to make these! Pearls and buttons add extra charm to the tablescape


Pam made this centerpiece with pink flowers and "iced" twigs. These are a good decorative touch to add in the wintertime.


We hope you enjoyed these vintage tablescaping ideas!

Check our previous blog entry on how to make those cute fabric flowers, which are a great idea for hair accessories, bouquets, table decorations, place cards, and jewelry accessories!

Saturday, November 27, 2010

Tyler and Andrea's Traditional Wedding With a Twist

Tyler and Andrea Holloway got married this summer in Amarillo at Paramount Baptist Church. They are such a sweet couple and special to our family. We hope you enjoy these pictures from Kara Mercer at Vintage View Photography, and design by Jitters!


Location: Paramount Baptist Church, Amarillo, TX
Photography: Kara Mercer Vintage View Photography
Cake and cupcakes: Cake Company of Canyon, Canyon, TX
Flowers/centerpieces/design: Pam and Katryce Hotmann
Catering: Nancy Manning
Brides Flowers: Amarillo florist

Friday, October 8, 2010

Fun and Fabulous: Purple and Black Rehearsal Dinner

This is the Holloway Rehearsal Dinner we did in August at Childer's Place in Amarillo. The theme of this was black and purple, which is fun and fabulous! Pam did the table design and the floral arrangements. I just helped with set-up, so I can't take the credit for this one.


Branches are another popular wedding/event trend. Here we used the same branches from the Garcia wedding. We grounded the branches in an urn filled with clear glass rocks, and hung tea candles in little vases from the branches. We also added a few smaller flower arrangements at the base. This demonstrates the concept of height variations again. As you see we alternated tables with tall branches and those with short flower arrangements.

Using colored tablecloths are a great way to add color to your event, without having to spend more money on a lot of flowers or other elements to add to the table. They help take away the "blah" from just a boring white tablecloth. We used a black and white runner to add some pattern to the table as well.

We used mason jars as our vases for the flowers which is a cute, inexpensive, and trendy idea! We added ribbon to embellish our jars for a little something extra. Lace is also popular to put around the jars, or even leaving them plain is just as cute.

Here is an example of a shorter centerpiece. You can use various heights and groupings of flowers and candles, and a picture frame was added for a personal touch.


Childers Place, which is a nursing home, is a great place to have a small reception or party, like a rehearsal dinner or birthday party. This outside courtyard area was beautifully landscaped with trees and flowers, and even has a stage. They also did the catering and it was delicious!


Check out Childers Place, which is near Medi Park, for your next event. And contact Jitters! for any of your design and planning needs!

God Bless,
Katryce

DIY: Fabric Flowers

Remember those handmade fabric flowers from Jordan and Molly's rehearsal dinner? They are easy to make! Here is how.

What you'll need:
Thin fabric of different colors. Tulle works well mixed in.
Scissors
Paper circle patterns of different sizes
buttons
needle and thread
candle

Step 1.
Cut out different sizes and colors of fabric.

Step 2.
Singe the edges of the fabric circles over a candle or lighter. Be careful, it can burn your fingers if you get too close, or catch the fabric on fire or melt it if it gets too close! You just want to make the edges of the fabric curl slightly.

Step 3.
Layer different sizes and colors of circles on top of one another. Place a button in the middle and sew them together through the center of the button. You can get creative and place several button in the center as well, or stack the buttons.


These can be made into pins to wear on sweaters, blouses, and dresses.


They can also be used in floral arrangements and centerpieces like we used them in the pictures below.


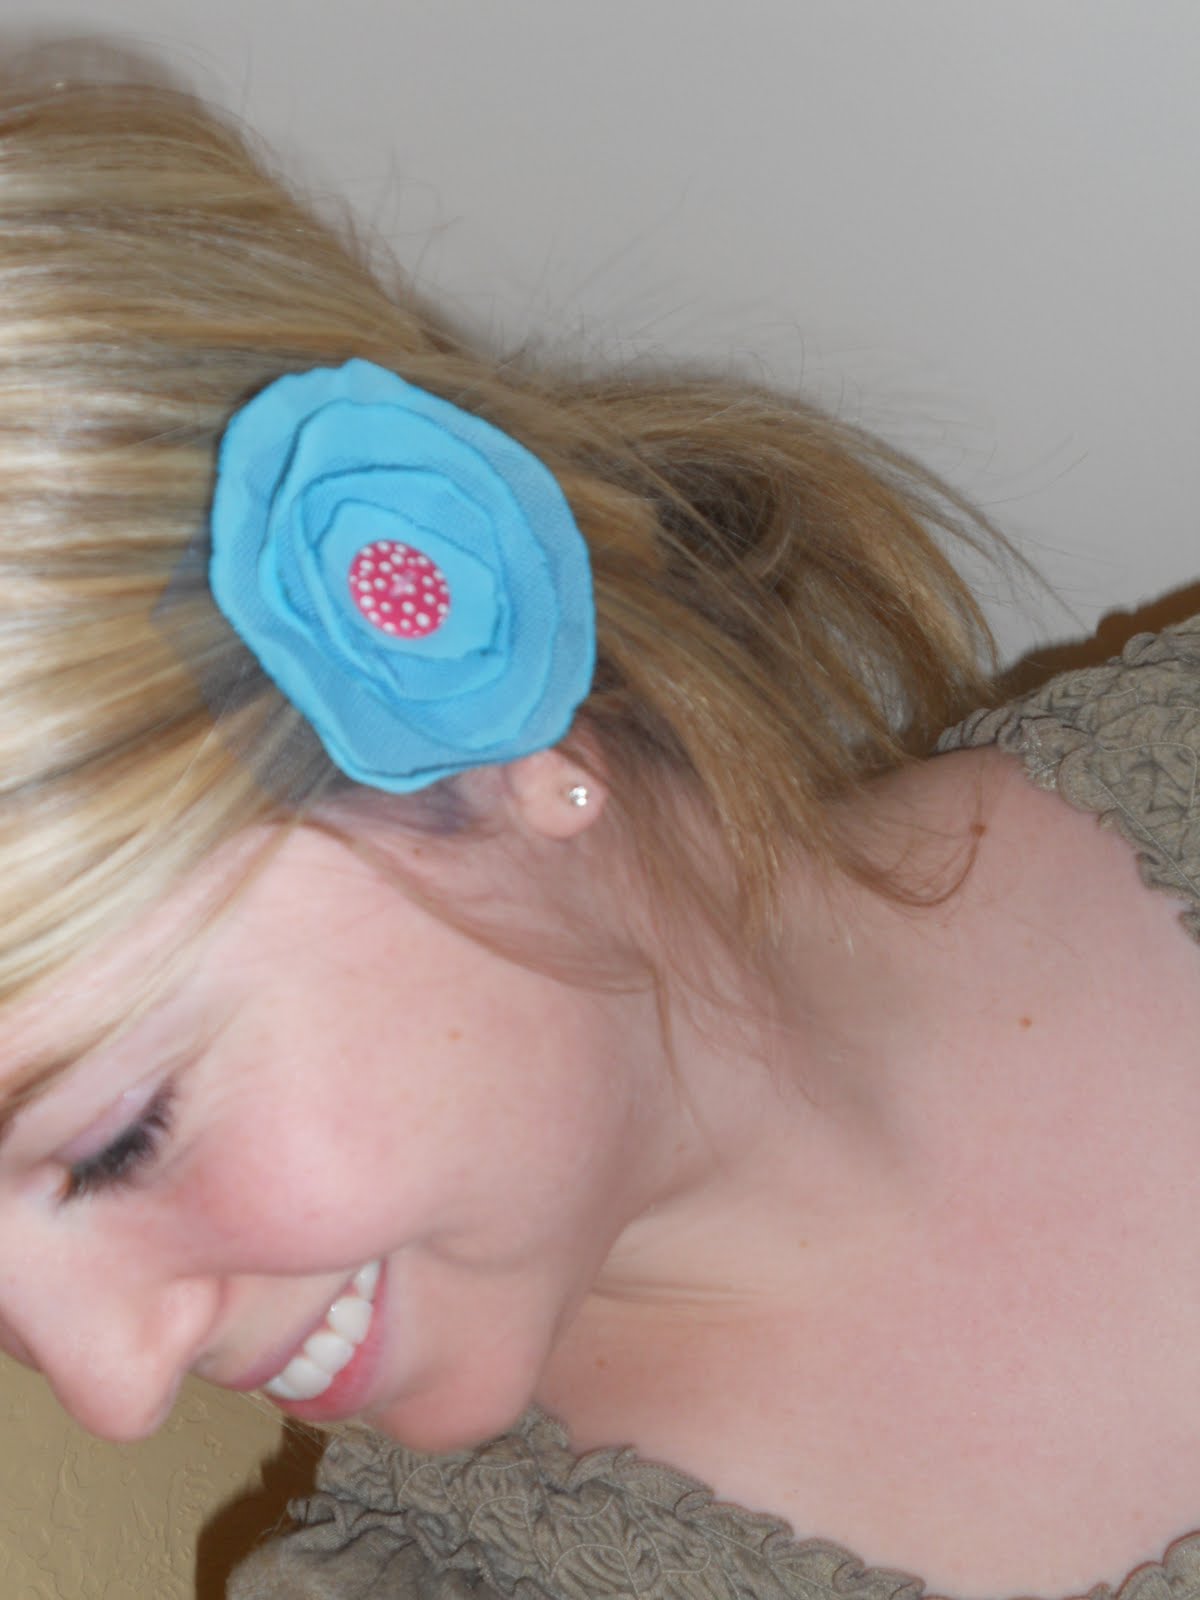
They can even be put on pins and worn in your hair, or you can put several together on a headband and wear them that way.

Hope you enjoy making some fun fabric flowers!